Hammers & Anvils · Shape
Anvil Stand
An anvil stand holds the anvil at working height and ties it firmly to the floor. A heavy, rigid, well-damped stand stops the anvil rocking, reduces ring, and lets the full force of each blow go into the steel.
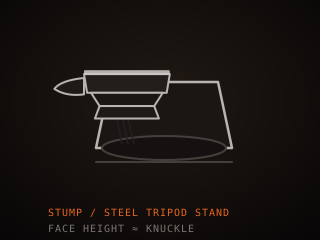
Specifications
| Material | Hardwood, steel, or sand-filled |
|---|---|
| Height | Face at knuckle height |
| Top | Flat and true, anvil seated solid |
| Damping | Sand fill, chain, or magnet |
| Footprint | Wide, non-tipping base |
| Mobility | Heavy, plan how to move it |
Technical parameters
| Typical height | 600–750 mm |
|---|---|
| Top thickness | 25–75 mm |
| Stand mass | 20–80 kg |
| Sand fill | Absorbs vibration |
| Ring reduction | Up to 15–25 dB |
| Base spread | 300–500 mm |
| Mounting | Bolted, strapped, or wedged |
| Anvil mass carried | 20–300 kg |
Overview
An anvil stand is the base that carries the anvil and connects it to the floor. Its job is to be heavy, rigid, and quiet. A solid stand stops the anvil from rocking under the blow, so energy goes into the steel rather than into the stand moving. It also sets the working height: the anvil face should sit near your knuckle height when you stand relaxed, so your hammer lands flat and your back does not tire. Finally, a good stand damps the ring of the anvil, which protects your hearing over a career of forging.
When choosing, think about material, mass, and how you will move it. A hardwood stump is traditional, cheap, and quiet but can split and rot. A welded steel stand is stable and long-lived but transmits ring and needs damping with sand or chain. A stand filled with sand or gravel absorbs vibration extremely well and is the quietest option, though it is heavy to relocate. Whatever the material, the top must be flat and true so the anvil sits without rocking, and the footprint must be wide enough that a hard blow cannot tip it.
In the workflow the stand is invisible until it is wrong. A wobbly or too-tall stand makes every blow inaccurate and tires you quickly, and a ringing anvil in an enclosed shop is a slow hearing hazard. Height, stability, and damping are the three things to get right, and they are cheap to fix. Some smiths add a tool tray or a place to hang tongs so the working area stays organized. Treat the stand as part of the anvil system, not an afterthought, because it changes how the anvil performs.
Where it fits
This tool belongs to the Shape stage of the build.
Safety
- Bolt or strap the anvil to the stand and set the stand on a level floor, since a top-heavy anvil can tip onto your feet.
- Wear hearing protection if the anvil rings; the stand reduces but does not always eliminate damaging sound levels.
- Lift stands with your legs and get help for heavy sand-filled bases, since these are awkward, dense loads that injure backs.
Using it well
- Set the anvil face at knuckle height so your hammer lands flat and you can work for hours without back strain.
- Fill a steel stand with dry sand to cut ring dramatically; it is the quietest common option and cheap to do.
- Check the anvil for rock after every move; a stand that is flat but not level will let the anvil shift under hard blows.
- Add a small tray or hooks for tongs and hammers so the area around the anvil stays clear and you are not stepping over tools.
Compatible steels
Steels this tool is commonly used with, and which suit its working range.
Related processes
Related tools
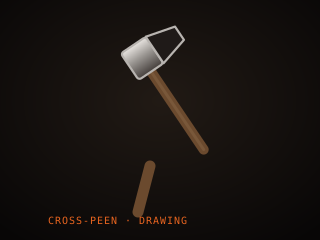
Cross-Peen Hammer
Hammer with a narrow peen for spreading and shaping hot steel.
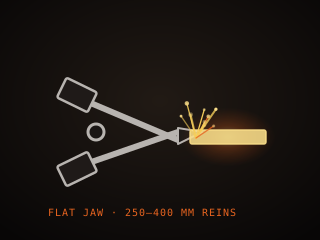
Blacksmith Tongs
Gripping tool for holding hot steel safely at the anvil and forge.
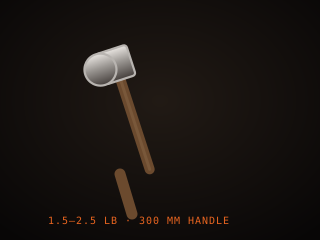
Blacksmith Hammer
Primary striking tool for moving hot steel on the anvil.
Anvil
Massive steel block that provides the reaction surface for hammering.
Further reading

How to Start Knife Making: A Beginner’s Guide
Knife making rewards patience more than tools. Here is the honest starting path: one simple steel, a handful of files, and the three skills that actually decide whether your first blade works.

Handle Assembly: Materials, Pins, and Finish
A handle is where the knife meets your hand and the part people notice first. This covers materials, tang prep, epoxy, pins and bolts, and the finishing steps that make it feel like one piece.

Making a Leather Sheath: Step by Step
A sheath is a fitted leather case made around the knife, not a pouch the knife is dropped into. This walks through the pattern, the welt, wet forming and the stitching that holds it together.