Hammers & Anvils · Shape
Blacksmith Hammer
The blacksmith hammer is the tool that moves hot steel on the anvil, usually with a flat face and a peen. Weight, balance, and handle length all change how much metal moves per blow, so fit matters more than raw mass.
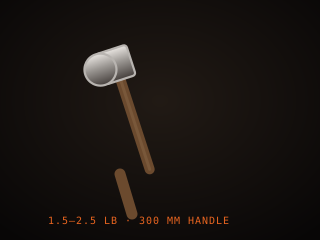
Specifications
| Head weight | 1–3 lb (0.45–1.4 kg) |
|---|---|
| Faces | Flat plus cross-peen or ball-peen |
| Handle | Hickory, wedged through the eye |
| Handle length | 300–380 mm |
| Steel | Forged medium-carbon or tool steel |
| Use | Drawing, upsetting, bending, setting |
Technical parameters
| Head weight range | 0.5–1.5 kg |
|---|---|
| Face hardness | 50–58 HRC |
| Face diameter | 25–40 mm |
| Handle length | 300–380 mm |
| Balance point | Just ahead of the grip |
| Eye size | Oval, matched to handle |
| Dressing | Rounded face edges, polished |
| Stock moved per pass | 0.5–2 mm |
Overview
The blacksmith hammer is the tool that actually moves metal. A typical forging hammer has a head of 1 to 3 pounds, one flat face for general work and often a cross-peen or ball-peen on the other for spreading and shaping. The handle is usually hickory, fitted through the eye and wedged, and shaped so the smith can slide the grip to suit the blow. The hammer works by transferring the energy of a controlled swing into the hot steel against the anvil, so its weight, balance, and handle length all change how much metal moves per blow.
Choosing a hammer is personal, but the physics are not. A lighter hammer swung fast moves more metal and is easier on the joints than a heavy one swung slowly. Head weight between 1.5 and 2.5 pounds suits most blade work; a heavy sledge is for strikers on big stock, not for one-handed forging. The face should be dressed smooth with slightly rounded edges, because a sharp edge leaves deep marks that become cracks. Handle length should let the head travel in a natural arc without the grip crowding your body.
In the workflow the hammer is used at the anvil, in the shaping stage, alongside tongs that hold the stock. It takes the hot, square stock from the forge and draws, upsets, bends, and sets the profile that grinding will later refine. Skill with a hammer is mostly about consistency: the same blow landing in the same place with the same force. Beginners should start light and focus on accuracy, because a heavy hammer in unskilled hands produces dents, cold shuts, and a lot of wasted grinding rather than faster progress.
Where it fits
This tool belongs to the Shape stage of the build.
Safety
- Wear safety glasses every time; a mis-struck hammer can send scale, chips, and fragments of steel flying at eye level.
- Keep the swing in a plane away from your body, since a glancing blow can rebound the hammer toward you.
- Inspect the handle and head before each session; a loose head or a cracked handle can turn a light blow into a flying hammer.
Using it well
- Start with a 1.5–2 lb hammer and learn to swing it accurately; a heavier head swung badly makes dents, not faster progress.
- Dress the face edges round and polish the face; sharp edges leave deep marks that later become cracks when the blade flexes.
- Seat the handle with a hardwood or steel wedge and a little glue, and check the head for looseness before every forging session.
- Let the hammer do the work and keep a loose grip; squeezing hard tires your forearm and blunts the accuracy of the blow.
Compatible steels
Steels this tool is commonly used with, and which suit its working range.
Related processes
Related tools
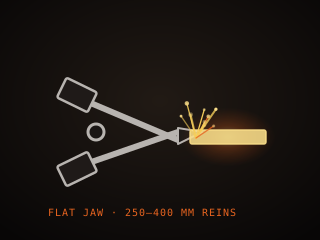
Blacksmith Tongs
Gripping tool for holding hot steel safely at the anvil and forge.
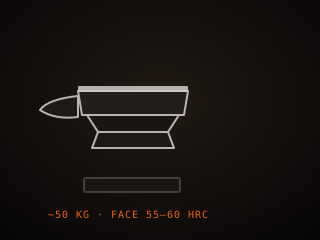
Anvil
Massive steel block that provides the reaction surface for hammering.
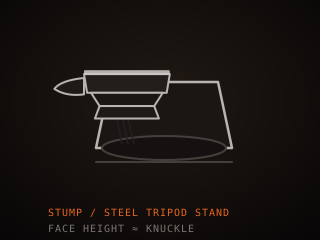
Anvil Stand
Rigid base that holds the anvil at working height and damps ring.
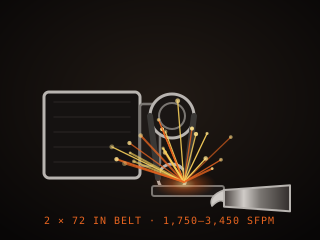
Belt Grinder
Motorized abrasive belt machine for shaping and finishing blades.
Further reading

How to Start Knife Making: A Beginner’s Guide
Knife making rewards patience more than tools. Here is the honest starting path: one simple steel, a handful of files, and the three skills that actually decide whether your first blade works.

Handle Assembly: Materials, Pins, and Finish
A handle is where the knife meets your hand and the part people notice first. This covers materials, tang prep, epoxy, pins and bolts, and the finishing steps that make it feel like one piece.

Making a Leather Sheath: Step by Step
A sheath is a fitted leather case made around the knife, not a pouch the knife is dropped into. This walks through the pattern, the welt, wet forming and the stitching that holds it together.