Hammers & Anvils · Shape
Anvil
The anvil is the mass that the hammer works against, turning the energy of a blow into moving metal. Mass, face hardness, and rebound determine how well it performs, and its height sets how comfortably you can forge.
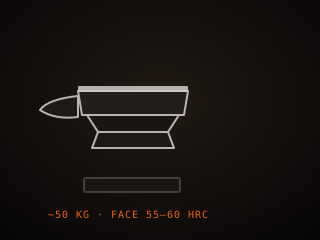
Specifications
| Mass | 70–150 kg typical |
|---|---|
| Face | Hardened steel, 50–58 HRC |
| Features | Horn, step, hardy, pritchel |
| Rebound | 70–90 % ball bearing test |
| Height | Face at knuckle height |
| Mounting | Stand or stump, damped |
Technical parameters
| Face hardness | 50–58 HRC |
|---|---|
| Rebound | 70–90 % |
| Hardy hole | 20–30 mm square |
| Pritchel hole | 10–15 mm round |
| Face length | 250–400 mm |
| Horn length | 150–250 mm |
| Waist ratio | Face to base, tapered |
| Mass range | 20–300 kg |
Overview
The anvil is the mass that the hammer works against. When you strike hot steel on an anvil, the inertia and weight of the block resist the blow, so the energy goes into moving metal instead of bouncing the hammer back. A good anvil has a hardened steel face, a horn for bending and drawing, a step or cutting table, and a hardy hole for holding tools. Mass is the single most important property: a heavy anvil absorbs the blow and returns it, while a light one dances and rings and wastes your effort.
When choosing, weigh mass, face hardness, and rebound. An anvil of 70 to 150 kilograms suits most blade work; heavier is better if you can afford and move it. Rebound, the height a ball bearing bounces back off the face, is the quick field test: 70 to 90 percent of the drop height indicates a hard, lively face, while a dead thud suggests a soft or badly repaired one. Cast steel anvils are tough and uniform, forged steel anvils are prized for rebound, and antique wrought-iron anvils with a steel face can be excellent if the face is intact.
In the workflow the anvil is the center of the shaping stage. Everything you forge happens on its face, horn, or in its hardy hole, and its height matters as much as its mass: the face should sit at roughly knuckle height so your hammer lands flat. Ring is a trade-off. A loud anvil tells you the face is hard, but it also damages your hearing over years, so many smiths chain or magnet-damp the anvil to quiet it. Mount it solidly and it becomes the foundation of every forged blade you make.
Where it fits
This tool belongs to the Shape stage of the build.
Safety
- Never strike a cold anvil face with a hardened hammer, since both can chip and throw steel fragments at high speed.
- Set the anvil on a stable stand and damp the ring, because a tipping anvil and long-term hearing damage are both real risks.
- Wear safety glasses and keep feet clear of the base; a dropped hammer or a toppling anvil causes serious foot and leg injuries.
Using it well
- Test rebound with a ball bearing dropped from a fixed height; a lively 70–90 percent bounce means a hard, usable face.
- Set the face at knuckle height and mount the anvil on a heavy stand, then damp the ring with a chain or magnet.
- Work hot steel only; hammering cold or near-cold steel on a hardened face risks chipping both the steel and the anvil.
- Keep the face free of deep dents and the edges lightly rounded, since sharp edges and pits transfer marks straight into your work.
Compatible steels
Steels this tool is commonly used with, and which suit its working range.
Related processes
Related tools
Blacksmith Hammer
Primary striking tool for moving hot steel on the anvil.
Blacksmith Tongs
Gripping tool for holding hot steel safely at the anvil and forge.
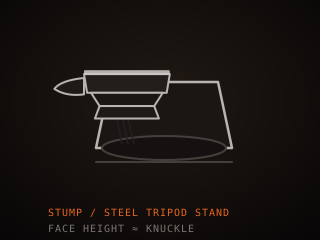
Anvil Stand
Rigid base that holds the anvil at working height and damps ring.
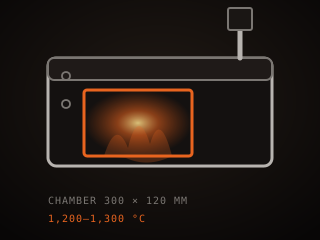
Gas Forge
Propane-fired chamber for bringing steel to forging temperature.
Further reading

How to Start Knife Making: A Beginner’s Guide
Knife making rewards patience more than tools. Here is the honest starting path: one simple steel, a handful of files, and the three skills that actually decide whether your first blade works.

Handle Assembly: Materials, Pins, and Finish
A handle is where the knife meets your hand and the part people notice first. This covers materials, tang prep, epoxy, pins and bolts, and the finishing steps that make it feel like one piece.

Making a Leather Sheath: Step by Step
A sheath is a fitted leather case made around the knife, not a pouch the knife is dropped into. This walks through the pattern, the welt, wet forming and the stitching that holds it together.