Forge & Heating · Forge
Gas Forge
A gas forge heats steel inside a refractory-lined chamber fed by propane burners, so the blade sits in moving hot gas rather than touching fuel. It reaches forging temperature in minutes, burns clean, and suits most small knife shops.
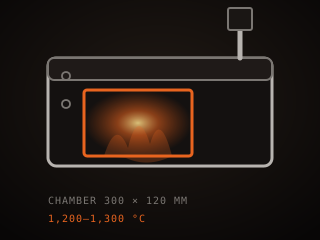
Specifications
| Chamber size | 150–450 mm long, 75–150 mm bore |
|---|---|
| Burner count | 1–3 venturi or forced-air |
| Fuel | Propane / LPG |
| Insulation | Ceramic fiber plus hard coat |
| Heat-up time | 5–10 minutes to forging heat |
| Max temperature | 1,200–1,300 °C / 2,190–2,370 °F |
Technical parameters
| Max temperature | 1,200–1,300 °C / 2,190–2,370 °F |
|---|---|
| Forging range | 815–1,150 °C / 1,500–2,100 °F |
| Welding temperature | 1,200–1,300 °C / 2,190–2,370 °F |
| Burner output | 15–40 kW per burner |
| Propane pressure | 0.5–2 bar / 7–30 psi |
| Chamber volume | 2–15 liters |
| Fuel consumption | 1–3 kg propane per hour |
| Insulation rating | 1,260–1,430 °C fiber, 1,400 °C castable |
Overview
A gas forge is a refractory-lined box or tube fed by one or more propane burners. The burner mixes fuel with air and burns it inside the chamber, so the steel is surrounded by moving combustion gas instead of sitting in a solid fuel bed. Because the chamber walls glow and re-radiate, the blade heats from every side at once and stays flat, which matters when you are forging a long, thin section that would sag over an open fire. Heat-up is fast: a small single-burner forge reaches welding temperature in a few minutes, and you can shut it down just as quickly.
When choosing one, the main variables are chamber volume, burner count, insulation type, and whether the burner is naturally aspirated or forced-air. A chamber far larger than your work wastes fuel and runs cooler at the far end; a chamber barely larger than the blade heats faster but limits what you can fit. Rigidized ceramic fiber insulation is light and efficient but sheds friable fibers, so it needs a hard refractory coating. Castable refractory is heavier and slower to heat but far more durable against flux and mechanical abuse.
In the workflow, the gas forge sits at the very front: it takes stock from cold to forging temperature, and it also handles normalizing and the soak before quenching. It does not replace a heat-treat oven, because it cannot hold a precise, even temperature for a long tempering soak. Most smiths run the forge for shaping and normalizing, then move the blade to a controlled oven for austenitizing and tempering where repeatability matters. Keep a fire extinguisher within reach and never run a forge in an unventilated space.
Where it fits
This tool belongs to the Forge stage of the build.
Safety
- Assume every surface inside and around a running forge is hot enough to burn; wear leather gloves and use tongs, never bare hands.
- Never run a propane forge in an enclosed space: carbon monoxide is odorless and can kill before you notice the fumes.
- Ventilate to clear carbon monoxide, and wear a respirator when handling or recoating friable ceramic fiber insulation.
Using it well
- Soak a new forge gently for 30–60 minutes at low output before the first full-power run, so residual moisture in the refractory escapes without cracking.
- Block unused chamber openings with fire bricks to concentrate heat and cut fuel use, but leave a small vent so combustion gases can escape.
- Watch for a flare at the door and a leaning flame; that usually means too much fuel or too little air, not a normal tuning point.
- Let the forge cool with the burner off and the doors open; quenching a hot lining with water will crack both fiber and castable.
Compatible steels
Steels this tool is commonly used with, and which suit its working range.
Related processes
Related tools
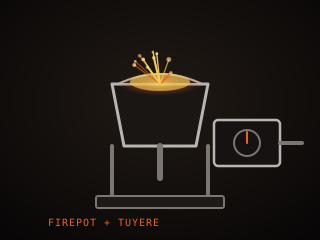
Coal Forge
Solid-fuel hearth that burns coal or coke for traditional forging.
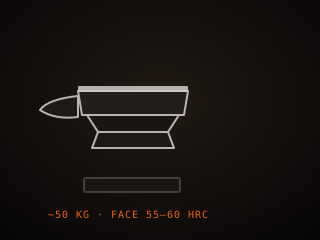
Anvil
Massive steel block that provides the reaction surface for hammering.
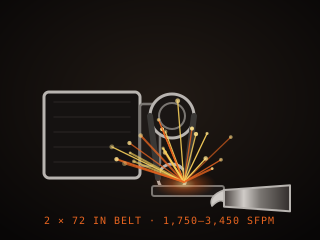
Belt Grinder
Motorized abrasive belt machine for shaping and finishing blades.
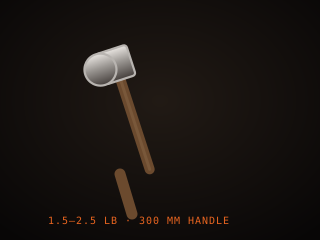
Blacksmith Hammer
Primary striking tool for moving hot steel on the anvil.
Further reading

How to Start Knife Making: A Beginner’s Guide
Knife making rewards patience more than tools. Here is the honest starting path: one simple steel, a handful of files, and the three skills that actually decide whether your first blade works.

Handle Assembly: Materials, Pins, and Finish
A handle is where the knife meets your hand and the part people notice first. This covers materials, tang prep, epoxy, pins and bolts, and the finishing steps that make it feel like one piece.

Making a Leather Sheath: Step by Step
A sheath is a fitted leather case made around the knife, not a pouch the knife is dropped into. This walks through the pattern, the welt, wet forming and the stitching that holds it together.