Handle & Finishing · Finish
Brass Guard
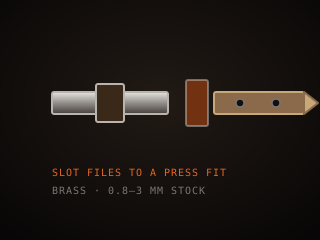
A brass guard sits between blade and handle to protect the hand and seal the front of the grip. Brass is easy to file and polish, and a tight, well-fitted slot is what makes the finished knife look deliberate.
Specifications
| Material | Brass, steel, nickel silver |
|---|---|
| Form | Flat bar, single or double |
| Fit | Tight slot over the tang |
| Attachment | Epoxy, pin, or press fit |
| Finish | Filed, sanded, polished |
| Function | Hand protection and seal |
Technical parameters
| Thickness | 3–6 mm |
|---|---|
| Slot tolerance | Near zero clearance |
| Hardness (brass) | Soft, easily filed |
| Tarnish | Brass tarnishes, steel does not |
| Attachment | Epoxy plus pin common |
| Soldering | Optional, for watertight fit |
| Polish | Up to mirror finish |
| Fit to ricasso | Flat, no gaps |
Overview
A brass guard is a metal fitting that sits between the blade and the handle, where it stops the hand from sliding forward onto the edge and closes off the front of the handle. Guards are commonly made from brass, but also from stainless steel, nickel silver, copper, and bronze, each with a different color and working character. Brass is popular because it is soft enough to file and sand easily, takes a high polish, and solders and pins well. The guard can be a simple flat bar, a shaped double guard, or a more complex piece, and its fit to the ricasso is what makes the knife look and feel finished.
When choosing, consider the material, the fit, and how you will attach it. Brass is easy to work but tarnishes and is softer, so it can scratch; stainless is tougher and stays bright but is harder to file. The slot or hole that fits over the tang must be tight, because a loose guard shows a gap that collects dirt and looks unfinished. Guards are usually held by the epoxy in the handle, by pins or a pin through the tang, or by a press fit, and sometimes soldered for a watertight joint. The material should match the pins and other fittings so the finished knife reads as a single piece.
In the workflow the guard is fitted after the blade is finished and before the handle is glued up. The blade is shaped and often heat treated first, then the guard is slotted, fitted, and finished, and only then are the scales attached. Fitting a guard well is a precise job: the slot must match the tang closely, the shoulders must sit flat against the ricasso, and the front face must be polished before assembly because it becomes hard to reach afterward. A tight, clean guard is one of the clearest signs of careful work, and a loose or gappy one undermines an otherwise good blade.
Where it fits
This tool belongs to the Finish stage of the build.
Safety
- Wear a respirator when grinding or sanding brass, since brass dust contains metals that are harmful to breathe.
- Deburr and round the guard edges before assembly; a sharp guard corner can cut the hand it is meant to protect.
- Clamp the work and keep fingers clear when filing and drilling the slot, since thin guards can spin or slip suddenly.
Using it well
- Fit the guard slot tight to the tang and dry-fit before gluing; a visible gap collects dirt and never looks finished.
- Polish the front face of the guard before assembly, since it is very hard to reach once the handle is attached.
- Match the guard metal to your pins and bolsters so the finished knife reads as one piece rather than a collection of parts.
- File a slight taper or bevel on the guard so it blends into the ricasso instead of sitting as a hard, square block.
Compatible steels
Steels this tool is commonly used with, and which suit its working range.
Related processes
Related tools
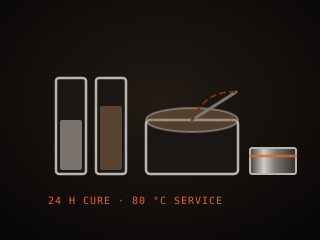
Handle Epoxy
Two-part adhesive that bonds handle scales to the tang.
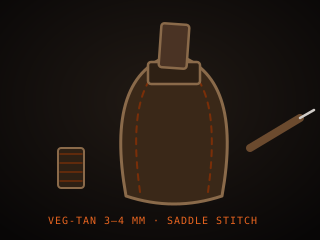
Leather Sheath
Stitched leather pouch that carries and protects a finished knife.
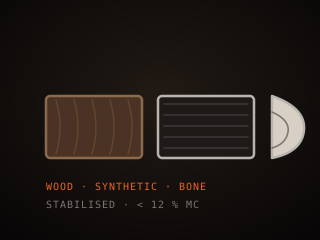
Handle Material
Scales, blocks, and slabs that form the grip of a finished knife.
Handle Pins
Metal rods that fasten and reinforce a knife handle.
Further reading

How to Start Knife Making: A Beginner’s Guide
Knife making rewards patience more than tools. Here is the honest starting path: one simple steel, a handful of files, and the three skills that actually decide whether your first blade works.

Handle Assembly: Materials, Pins, and Finish
A handle is where the knife meets your hand and the part people notice first. This covers materials, tang prep, epoxy, pins and bolts, and the finishing steps that make it feel like one piece.

Making a Leather Sheath: Step by Step
A sheath is a fitted leather case made around the knife, not a pouch the knife is dropped into. This walks through the pattern, the welt, wet forming and the stitching that holds it together.