Handle & Finishing · Finish
Handle Material
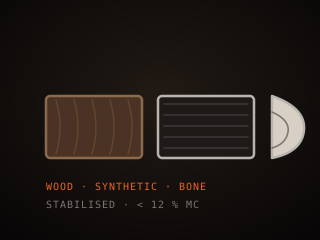
Handle material forms the grip of a finished knife and is usually supplied as scales, blocks, or a sleeve. Stability, workability, dust risk, and the finish it takes all matter when choosing between wood, synthetic, and natural materials.
Specifications
| Form | Scales, blocks, or sleeves |
|---|---|
| Types | Wood, synthetic, antler, bone |
| Stability | Stabilized or synthetic preferred |
| Fastening | Pins, tubes, epoxy |
| Finishing | Sanded and sealed or oiled |
| Dust | Some materials hazardous |
Technical parameters
| Scale thickness | 6–12 mm each |
|---|---|
| Handle length | 100–140 mm |
| Stabilized wood | Resin-impregnated |
| Synthetics | G10, Micarta, carbon fiber |
| Hardness | Wood soft, G10 tough |
| Moisture resistance | Synthetics best |
| Finish | Oil, wax, or sealed |
| Pin spacing | 20–40 mm apart |
Overview
Handle material is whatever forms the grip of a finished knife, and it is usually supplied as scales, blocks, or a hidden-tang sleeve. The choice spans natural and synthetic materials. Hardwoods such as stabilized maple, walnut, and desert ironwood give warmth and figure; synthetics such as G10, Micarta, and carbon fiber are tough, stable, and resistant to moisture; antler, bone, and horn add traditional character but need more care. The material must be stable, meaning it will not shrink, warp, or crack as humidity changes, and it must be able to take the finish and the fasteners you plan to use.
When choosing, think about stability, workability, and how the handle will be used. Stabilized wood, which is resin-impregnated under vacuum, is far more stable than untreated wood and is the safe choice for a user knife. Synthetics resist water, blood, and solvents and need little maintenance, which suits hard-use blades. Natural materials can look superb but may move with the seasons and need oiling. Dust is a real factor: some hardwoods, bone, horn, and carbon fiber produce dust that is genuinely harmful to breathe, so the material choice also sets your PPE. Consider how the material glues, pins, and sands.
In the workflow handle material is the final stage of the build, applied after the blade is heat treated, ground, and often sharpened. The scales are fitted to the tang, drilled for pins or tubes, glued with epoxy, and then shaped and sanded to a comfortable profile before finishing. The material determines the feel and balance of the finished knife as much as the blade does, and it is where much of the character lives. A well-fitted handle hides the transition between materials and feels solid in the hand; a poor fit shows gaps, proud pins, and a handle that moves.
Where it fits
This tool belongs to the Finish stage of the build.
Safety
- Wear a respirator and eye protection when sanding; many handle woods, bone, horn, and carbon fiber produce harmful dust.
- Work in good ventilation or with extraction, since fine dust from exotic woods and composites can sensitize and irritate lungs.
- Keep fingers clear of belts and drills when fitting scales, and clamp the work so it cannot shift into the cutter.
Using it well
- Choose stabilized wood or a synthetic for a user knife; untreated natural wood moves with humidity and can loosen around the pins.
- Drill pin holes before gluing and dry-fit everything, so you are not fighting a cured joint to correct a misaligned hole.
- Sand with the grain where you can, and finish to a finer grit than feels necessary, since handles show every scratch in the hand.
- Seal or oil the handle according to the material, and note what maintenance it needs so it stays stable over time.
Compatible steels
Steels this tool is commonly used with, and which suit its working range.
Related processes
Related tools
Handle Epoxy
Two-part adhesive that bonds handle scales to the tang.
Brass Guard
Metal fitting between blade and handle that protects the hand.
Fire Bricks
Heat-resistant bricks that line, insulate, and shape a forge chamber.
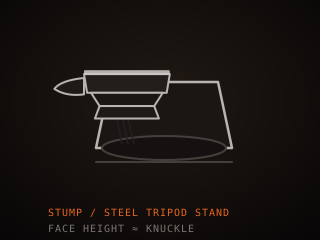
Anvil Stand
Rigid base that holds the anvil at working height and damps ring.
Further reading

How to Start Knife Making: A Beginner’s Guide
Knife making rewards patience more than tools. Here is the honest starting path: one simple steel, a handful of files, and the three skills that actually decide whether your first blade works.

Handle Assembly: Materials, Pins, and Finish
A handle is where the knife meets your hand and the part people notice first. This covers materials, tang prep, epoxy, pins and bolts, and the finishing steps that make it feel like one piece.

Making a Leather Sheath: Step by Step
A sheath is a fitted leather case made around the knife, not a pouch the knife is dropped into. This walks through the pattern, the welt, wet forming and the stitching that holds it together.