Forge & Heating · Forge
Forge Burner
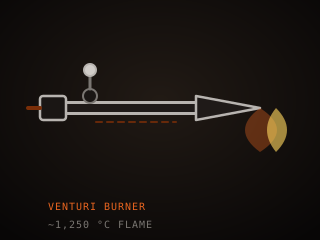
A forge burner mixes propane with air and burns the mixture inside the forge chamber. Venturi burners pull their own air and need no power, while forced-air burners give wider control over flame atmosphere and output.
Specifications
| Type | Venturi or forced-air |
|---|---|
| Fuel | Propane / LPG |
| Flame holder | Flare or burner block |
| Air control | Fixed or adjustable choke |
| Mounting | Threaded into forge shell |
| Typical output | 15–40 kW |
Technical parameters
| Max temperature | 1,300 °C / 2,370 °F flame |
|---|---|
| Gas pressure | 0.5–2 bar / 7–30 psi |
| Orifice size | 0.8–2.0 mm |
| Air-to-fuel ratio | About 15:1 to 18:1 by volume |
| Turndown | Narrow venturi, wide forced-air |
| Burner length | 150–350 mm |
| Ignition | Manual torch or piezo |
| Noise | Soft roar at full output |
Overview
A forge burner is the device that combines propane with air and burns the mixture in a controlled flame. The two common types are venturi, or naturally aspirated, burners that pull their own air using the venturi effect, and forced-air burners that use a blower to push air into the mix. A venturi burner is simple and needs no electricity; a forced-air burner gives you a wider turn-down range and more control over the air-to-fuel ratio, which matters when you want a reducing or oxidizing atmosphere.
When choosing, look at the flare or burner block, the orifice size, and the way air is metered. The orifice sets the gas flow for a given pressure; the flare holds the flame and keeps it attached; an adjustable air choke lets you tune the mixture. Too much fuel produces a lazy, yellow, sooty flame that wastes gas and can leave scale and carbon in the chamber. Too much air produces a short, hard, oxidizing flame that burns steel and eats insulation. The sweet spot is a steady blue flame with a soft inner cone and a slight roar.
In the workflow, the burner is the heart of the forge and the part most often tuned or replaced. A single burner suits a small chamber, while a long or wide chamber needs two or three to keep the far end up to heat. Because the burner defines the atmosphere, it also affects scale and decarburization: a slightly rich mixture cuts scaling on the blade, but too rich will pump carbon monoxide into the shop. Match burner output to chamber volume rather than running one oversized burner, which tends to blast a cold spot and a hot spot into the same chamber.
Where it fits
This tool belongs to the Forge stage of the build.
Safety
- Light the burner with the gas low and the flame in place; never open the gas fully and then hunt for a spark.
- Check for gas leaks at every joint with soapy water before firing, since propane pools at floor level and ignites readily.
- If the flame lifts off, roars, or blows back, shut the gas off first, then adjust air; never reach over a lit burner.
Using it well
- Tune the air choke for a short blue flame with a bright inner cone; a yellow smoky flame means too much fuel and wasted propane.
- Keep the orifice clean and free of spider webs and scale, since a partly blocked jet shifts the mixture and makes the flame unstable.
- Match burner output to chamber size; one oversized burner tends to leave a hot streak on the wall and a cold corner across the chamber.
- Fit a small sight glass or inspection port so you can judge flame color and atmosphere without opening the forge door and losing heat.
Compatible steels
Steels this tool is commonly used with, and which suit its working range.
Related processes
Related tools
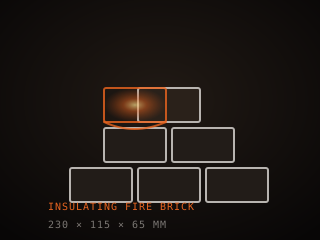
Fire Bricks
Heat-resistant bricks that line, insulate, and shape a forge chamber.
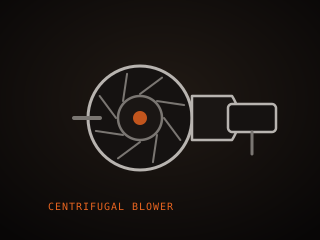
Forge Blower
Moves air into a solid-fuel fire to raise and control its heat.
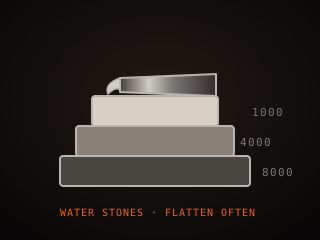
Whetstones
Sharpening stones that grind and polish a blade edge by hand.
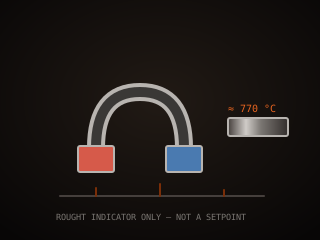
Magnet (Heat-Treat Reference)
Magnetic reference used to estimate the critical temperature of steel.
Further reading

How to Start Knife Making: A Beginner’s Guide
Knife making rewards patience more than tools. Here is the honest starting path: one simple steel, a handful of files, and the three skills that actually decide whether your first blade works.

Handle Assembly: Materials, Pins, and Finish
A handle is where the knife meets your hand and the part people notice first. This covers materials, tang prep, epoxy, pins and bolts, and the finishing steps that make it feel like one piece.

Making a Leather Sheath: Step by Step
A sheath is a fitted leather case made around the knife, not a pouch the knife is dropped into. This walks through the pattern, the welt, wet forming and the stitching that holds it together.