Heat Treatment · Heat Treat
Magnet (Heat-Treat Reference)
A magnet is used to estimate critical temperature by watching for the moment steel stops attracting it. It is a rough, lower-bound indicator that suits simple carbon steels and should never be the only reference for a quench.
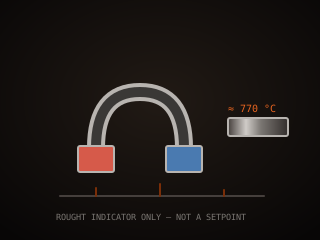
Specifications
| Type | Small permanent magnet |
|---|---|
| Use | Detect loss of magnetism |
| Applies to | Simple carbon steels |
| Limit | Rough indicator only |
| Method | Touch to heated steel |
| Not a soak | Cannot hold temperature |
Technical parameters
| Curie temperature | About 770 °C for iron |
|---|---|
| Typical reading | Near lower austenitize |
| Steel relevance | 1084, 1095, W2 |
| Alloy steels | True temp often higher |
| Reading window | Narrow, watch closely |
| Accuracy | Rough, not precise |
| Best use | Beginner cross-check |
| Backup to | Thermocouple or Tempilstik |
Overview
A magnet is used in heat treatment as a rough indicator of the critical temperature, the point where steel changes crystal structure as it is heated. As carbon steel is heated, it loses its magnetism at the Curie temperature, which for simple carbon steels sits close to the lower end of the austenitizing range. A smith touches a magnet to the blade and watches for the moment it stops attracting; that point is taken as a sign the steel is approaching the temperature where it will harden. It is one of the oldest field tricks in blacksmithing.
When choosing, any small magnet works, but understand what it can and cannot tell you. The Curie temperature is a property of the iron, not of the hardening range, and for many alloy and stainless steels the true austenitizing temperature is well above the point where the steel goes non-magnetic. So the magnet is a lower-bound indicator: it tells you the steel is hot enough to be near critical, not that it has reached the correct soak temperature. Reading it also takes practice, because the transition happens over a range and the magnet can stick, drag, or drop suddenly.
In the workflow the magnet is a beginner aid and a backup, used mainly with simple carbon steels such as 1084 and 1095. It is checked as the blade heats, and when the steel goes non-magnetic the smith knows the transformation is underway and can judge the remaining heat by color. It cannot replace a thermocouple, a Tempilstik, or a controlled oven for alloy steels, and it is no substitute for a soak. Used honestly, it teaches what critical temperature feels and looks like, and it is a genuinely useful cross-check when the lights are dim or your eye is unsure.
Where it fits
This tool belongs to the Heat Treat stage of the build.
Safety
- Use tongs and a magnet on a handle or rod; touching a magnet to red-hot steel with bare hands causes serious burns.
- Do not trust the magnet alone to decide when to quench, since steel that has gone non-magnetic may still be too cool.
- Wear eye protection and keep the magnet clear of the quench tank, since a dropped magnet can splash hot oil.
Using it well
- Treat the magnet as a lower bound: it tells you the steel is near critical, not that it has soaked at the right temperature.
- Use it mainly on simple carbon steels; for alloy and stainless steels the true austenitizing temperature is often much higher.
- Watch for the exact moment the pull drops off, then keep heating to color; the transition happens over a short, easy-to-miss range.
- Pair the magnet with a Tempilstik or thermocouple, and never let it become your only temperature reference for a critical blade.
Compatible steels
Steels this tool is commonly used with, and which suit its working range.
Related processes
Related tools
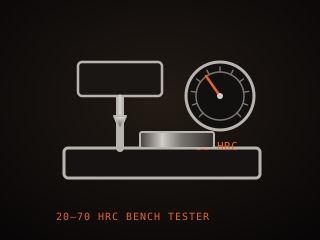
Hardness Tester
Instrument that measures how hard a blade actually came out.
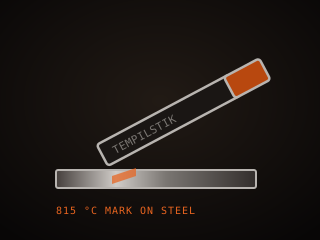
Tempilstik
Crayon that melts at a set temperature to confirm steel heat.
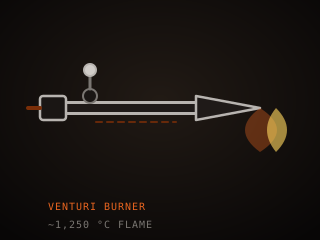
Forge Burner
Mixes fuel and air to produce the flame that heats a forge chamber.
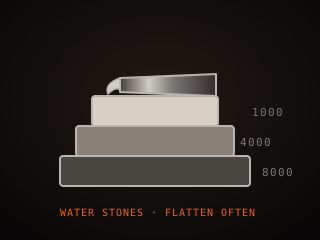
Whetstones
Sharpening stones that grind and polish a blade edge by hand.
Further reading

How to Start Knife Making: A Beginner’s Guide
Knife making rewards patience more than tools. Here is the honest starting path: one simple steel, a handful of files, and the three skills that actually decide whether your first blade works.
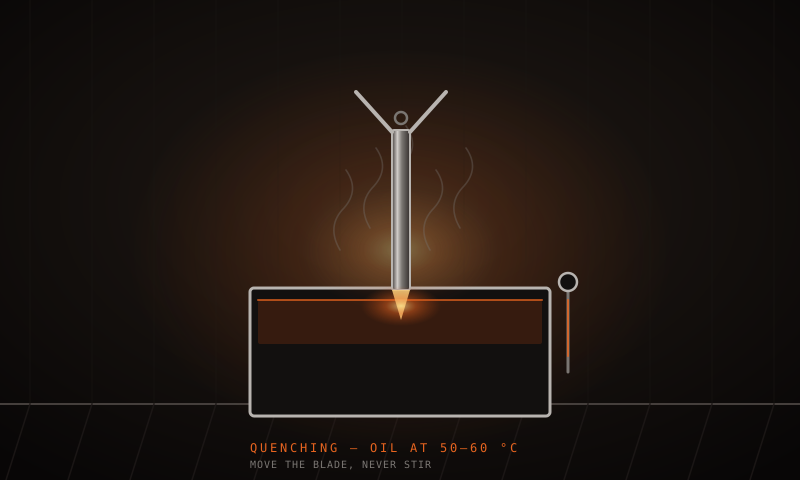
Heat Treatment Explained: Quenching and Tempering
Hardening is a race between two transformations. Get the temperature and the quench right and the steel becomes martensite. Get them wrong and it stays soft. Here is the sequence that works, with real numbers.

Handle Assembly: Materials, Pins, and Finish
A handle is where the knife meets your hand and the part people notice first. This covers materials, tang prep, epoxy, pins and bolts, and the finishing steps that make it feel like one piece.