Forge & Heating · Forge
Coal Forge
A coal forge burns coal, coke, or charcoal in a shallow firepot fed by a blast of air from below. It gives a tight, controllable hot spot that is ideal for drawing out tangs and forge welding, at the cost of smoke and clinker.
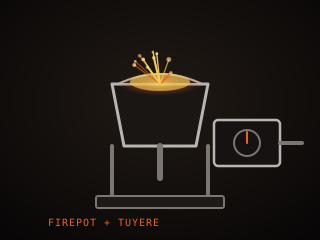
Specifications
| Firepot size | 150–300 mm diameter |
|---|---|
| Fuel | Bituminous coal, coke, charcoal |
| Air supply | Hand crank or electric blower |
| Hot spot | 50–100 mm wide |
| Heat-up time | 3–8 minutes to forging heat |
| Ash handling | Clinker breaker and ash dump |
Technical parameters
| Working temperature | 1,200–1,400 °C / 2,190–2,550 °F |
|---|---|
| Forge welding heat | 1,250–1,400 °C / 2,280–2,550 °F |
| Air blast | Low pressure, high volume |
| Firepot depth | 75–150 mm |
| Fuel burn rate | 2–5 kg per hour |
| Clinker interval | Every 30–60 minutes |
| Hood draft | Natural or fan-assisted flue |
| Hot spot width | 50–100 mm |
Overview
A coal forge, often called a solid-fuel forge, burns coal, coke, or charcoal in a shallow firepot fed by a blast of air from below. The fuel sits in a mound and the air blast drives the fire to a small, intensely hot zone called the hot spot, so you work the steel in that pocket rather than in a large even chamber. That concentrated heat is why coal forges are so good for local operations such as drawing out a tang or forge welding a billet, where you want one small area brought up fast.
Choosing one comes down to the firepot, the air supply, and how you plan to handle smoke. A deep, cast-iron firepot holds a good bank of fuel and gives a controllable hot spot; a shallow pan is cheaper and easier to build but cools quickly when you stop cranking. You need either a hand crank or an electric blower to feed air, plus a hood or flue to carry smoke and sulfur fumes away. Bituminous coal smokes heavily when green and cokes up as it burns; anthracite and coke are cleaner but harder to light and keep alight.
In the workflow the coal forge does the same first-stage job as a gas forge: heat, forge, normalize. Its advantage is the tight hot spot and the ability to weld without a large chamber; its cost is smoke, clinker, and more active tending. You must clean clinker out of the firepot regularly, because a clogged air grate starves the fire and drops the temperature. It pairs naturally with hand tools and traditional technique, and it teaches heat control because the fire responds instantly to how you work the blast.
Where it fits
This tool belongs to the Forge stage of the build.
Safety
- Never use a coal forge indoors without a working flue: coal smoke carries carbon monoxide, sulfur fumes, and fine particulates.
- Wear eye protection and long sleeves; the blast throws sparks and small burning coal fragments well beyond the firepot.
- Let ash and clinker cool completely in a metal container before disposal, since buried embers can stay live for many hours.
Using it well
- Keep a bank of wet coal around the fire, then rake green coal onto the top to coke it; raw coal thrown into the hot spot smokes and cools the fire.
- Open the blast only when you are heating steel; leaving air on a banked fire burns fuel and turns the hot spot into a clinker-crusted crater.
- Break and clear clinker as soon as the fire stops climbing, since a clogged grate starves the blast and quietly drops your working temperature.
- Use a metal bucket with a lid for ash and clinker, and never dump them into a plastic bin or onto dry ground near the shop.
Compatible steels
Steels this tool is commonly used with, and which suit its working range.
Related processes
Related tools
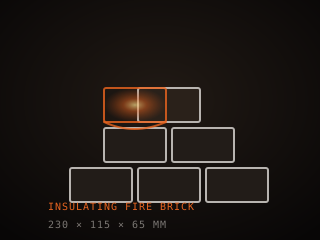
Fire Bricks
Heat-resistant bricks that line, insulate, and shape a forge chamber.
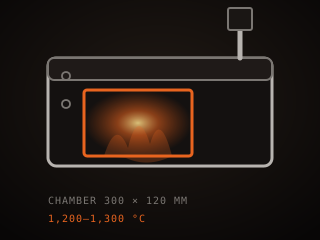
Gas Forge
Propane-fired chamber for bringing steel to forging temperature.
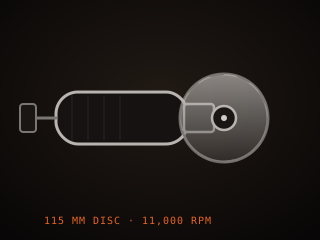
Angle Grinder
Handheld power tool for cutting and rough grinding metal.
Tempering Oven
Temperature-controlled oven for precise tempering and heat treatment.
Further reading

How to Start Knife Making: A Beginner’s Guide
Knife making rewards patience more than tools. Here is the honest starting path: one simple steel, a handful of files, and the three skills that actually decide whether your first blade works.

Handle Assembly: Materials, Pins, and Finish
A handle is where the knife meets your hand and the part people notice first. This covers materials, tang prep, epoxy, pins and bolts, and the finishing steps that make it feel like one piece.

Making a Leather Sheath: Step by Step
A sheath is a fitted leather case made around the knife, not a pouch the knife is dropped into. This walks through the pattern, the welt, wet forming and the stitching that holds it together.