Hammers & Anvils · Shape
Hardy Tools
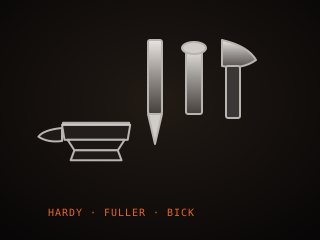
Hardy tools drop a square shank into the anvil hardy hole and use the mass of the anvil to cut, bend, and fuller hot steel. Each tool does one job well, so most smiths build up a small set over time.
Specifications
| Shank | Square, fits the hardy hole |
|---|---|
| Types | Hot cut, bender, fuller, swage |
| Material | Medium-carbon or tool steel |
| Edge | Softer than the hammer face |
| Storage | Rack near the anvil |
| Use | Cutting, bending, fullering |
Technical parameters
| Shank size | 20–30 mm square |
|---|---|
| Shank length | 75–150 mm |
| Cutting edge angle | 30–45° |
| Hot cut hardness | 45–55 HRC |
| Working heat | Cut at forging heat |
| Tool mass | 0.5–3 kg |
| Typical set | 3–6 pieces |
| Seating | Snug, no rocking |
Overview
Hardy tools are accessories with a square shank that drops into the hardy hole of an anvil. The hole holds them rigid, and the anvil backs them with its full mass, so a hardy tool can cut, bend, fuller, or form hot steel with the whole weight of the anvil behind it. Common examples include the hot cut, a chisel that slices hot bar when struck from above; the bending fork, used to bend and scroll; fullers, which draw and neck; and bottom tools like swages and spring fullers that shape the underside of the work.
When choosing hardy tools, match the shank to the hardy hole and the tool to the job. A loose shank rocks and rounds the hole, while an oversized one will not seat. The cutting edge of a hot cut should be softer than your hammer face so that a mis-strike damages the tool rather than the hammer. Buy or make a small set that covers cutting, bending, and fullering, and avoid odd sizes that only fit one anvil. Because they live in a hole, hardy tools are easy to misplace; a rack keeps them together and in reach.
In the workflow hardy tools extend the anvil into a small shaping station. The hot cut takes the place of a hacksaw on hot bar, the bending fork shapes tangs and guards, and fullers refine the transitions that give a blade its lines. They are used during the shaping stage, alongside the hammer and tongs, and they let a single anvil do the work of several dedicated machines. The trade-off is that each tool only does one thing well, so smiths build up a collection over time and store it where it will not be lost in the scale and scrap around the anvil.
Where it fits
This tool belongs to the Shape stage of the build.
Safety
- Wear eye protection when using a hot cut, since a hard blow can send a chip of hot steel or scale across the shop.
- Seat the shank fully and check for rock; a loose hardy tool can kick out of the hole under a heavy blow.
- Cut hot steel only and keep the edge softer than the hammer, so a mis-strike damages the tool rather than the hammer face.
Using it well
- Keep the hot cut edge a little softer than your hammer face, so a bad strike dents the tool instead of chipping the hammer.
- Cut at a full forging heat; forcing a hot cut through cooler steel strains the anvil and leaves a ragged, cracked cut.
- Make a rack or block that holds each hardy tool upright by the anvil, so you are not hunting for one in the scale.
- Fit the shank to the hardy hole and keep it slightly tapered, so it seats snugly and does not round out the hole.
Compatible steels
Steels this tool is commonly used with, and which suit its working range.
Related processes
Related tools
Tempilstik
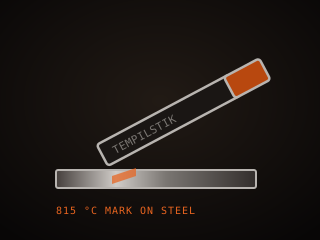
Crayon that melts at a set temperature to confirm steel heat.
Handle Pins
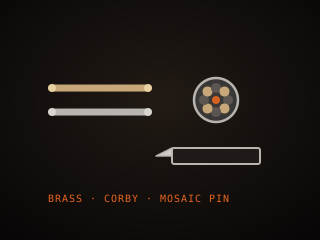
Metal rods that fasten and reinforce a knife handle.
Polishing Wheel
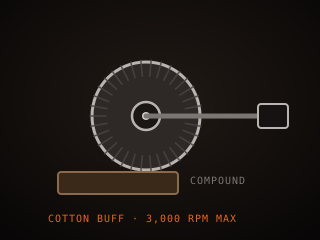
Soft buffing wheel that brings steel to a mirror finish.
Leather Sheath
Stitched leather pouch that carries and protects a finished knife.
Further reading

How to Start Knife Making: A Beginner’s Guide
Knife making rewards patience more than tools. Here is the honest starting path: one simple steel, a handful of files, and the three skills that actually decide whether your first blade works.

Handle Assembly: Materials, Pins, and Finish
A handle is where the knife meets your hand and the part people notice first. This covers materials, tang prep, epoxy, pins and bolts, and the finishing steps that make it feel like one piece.

Making a Leather Sheath: Step by Step
A sheath is a fitted leather case made around the knife, not a pouch the knife is dropped into. This walks through the pattern, the welt, wet forming and the stitching that holds it together.