Grinding & Shaping · Grind
Polishing Wheel
A polishing wheel carries abrasive compound to buff steel to a mirror finish. The wheel itself cuts little; the compound does the work, and a fast wheel pressed into a thin edge can draw the temper in seconds.
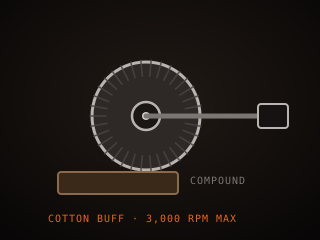
Specifications
| Wheel type | Stitched or loose cotton |
|---|---|
| Compound | Graded by color and cut |
| Speed | Moderate, controlled |
| Pairing | One wheel per compound |
| Dressing | Rake to remove loading |
| Use | Final polish and buffing |
Technical parameters
| Wheel diameter | 100–250 mm |
|---|---|
| Surface speed | 1,500–3,000 SFPM |
| Compound grit | Coarse to sub-micron |
| Common compounds | Black, brown, green, white, rouge |
| Wheel width | 25–50 mm |
| Dressing interval | Rake every few minutes |
| Heat risk | High on thin edges |
| Typical arbor | 6–12 mm |
Overview
A polishing wheel is a soft, rotating disc, usually made of stitched or loose cotton, that carries an abrasive compound and buffs a surface to a shine. The wheel itself does not cut much; the compound does the work. Compounds are graded by color and aggressiveness, from black or emery for cutting through scratches, through brown and green for intermediate work, to white and rouge for a final bright polish. Spinning at high speed, the loaded wheel burnishes and micro-polishes the steel, removing the fine scratches left by sanding belts or stones and leaving a uniform, reflective surface.
When choosing, match the wheel to the compound and keep them paired. Mixing compounds on one wheel contaminates it and muddies the finish, so most shops keep a separate wheel for each grade. Stitched wheels are firmer and better for cutting and blending, while loose or floppy wheels are for the final high shine on curved surfaces. Wheel diameter and motor speed set the surface speed, and too much speed burns the compound and the work. The wheel also needs regular raking or dressing to remove loaded metal and compound, because a clogged wheel smears instead of polishing.
In the workflow polishing comes last, after grinding, sanding, and any etching, and it is what separates a functional blade from a finished one. It is used on the blade, on guards and fittings, and on handles that take a polish. The main risk is heat: a fast wheel pressed hard into thin steel will overheat the edge and destroy the temper in seconds, so light pressure and constant movement are essential. Polishing also reveals every earlier scratch, so it is unforgiving of shortcuts in the grit progression. Done well, it produces the deep, clean shine that shows off a good grind.
Where it fits
This tool belongs to the Grind stage of the build.
Safety
- Wear a respirator and eye protection; buffing throws compound and metal dust and can catch loose clothing or hair.
- Tie back long hair and remove loose sleeves and jewelry, since a spinning wheel can snag cloth and pull your hand in.
- Keep pressure light on thin edges; a fast wheel heats steel quickly enough to draw the temper and ruin the blade.
Using it well
- Keep one wheel per compound and never mix them, since cross-contamination muddies the finish and wastes your time.
- Rake the wheel regularly to strip loaded metal and old compound, so it cuts cleanly instead of smearing the surface.
- Polish with light pressure and constant movement, especially near the edge, where heat builds faster than you can feel it.
- Inspect the surface under bright light between grits; polishing magnifies every scratch left by an earlier step.
Compatible steels
Steels this tool is commonly used with, and which suit its working range.
Related processes
Related tools
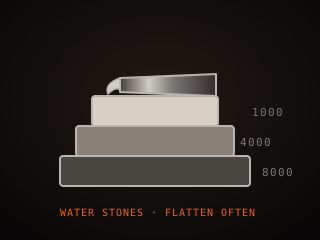
Whetstones
Sharpening stones that grind and polish a blade edge by hand.
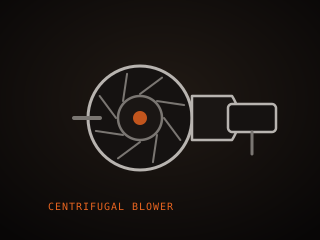
Forge Blower
Moves air into a solid-fuel fire to raise and control its heat.
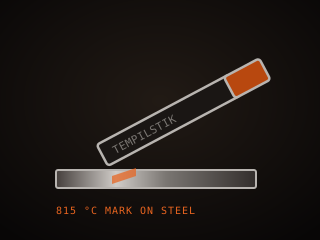
Tempilstik
Crayon that melts at a set temperature to confirm steel heat.
Crucible
Heat-resistant vessel for melting metal in a foundry or forge.
Further reading

How to Start Knife Making: A Beginner’s Guide
Knife making rewards patience more than tools. Here is the honest starting path: one simple steel, a handful of files, and the three skills that actually decide whether your first blade works.

Handle Assembly: Materials, Pins, and Finish
A handle is where the knife meets your hand and the part people notice first. This covers materials, tang prep, epoxy, pins and bolts, and the finishing steps that make it feel like one piece.

Making a Leather Sheath: Step by Step
A sheath is a fitted leather case made around the knife, not a pouch the knife is dropped into. This walks through the pattern, the welt, wet forming and the stitching that holds it together.