Heat treatment is the part of knife making that turns a shaped piece of metal into a cutting tool. Everything before it is geometry; everything after it is finishing. If the heat treatment is wrong, no amount of grinding or sharpening will fix it, which is why it deserves more of your attention than any other single step.
The process has a shape. You heat the steel until its internal structure changes, cool it fast enough to lock in a hard structure, then warm it again to trade a little hardness for toughness. Skip or shorten any of those and the knife suffers in a way that only shows up in use. This is the sequence, with the numbers that matter.
What hardening actually does
Steel at room temperature has a crystal structure that can hold only a little carbon. Heat it and the structure opens up, allowing much more carbon to dissolve. That happens at a specific temperature range for each steel, and it is called austenitizing. Once the carbon is dissolved, the structure is ready to change.
If you cool slowly, the carbon comes back out and you get pearlite, which is soft. If you cool fast enough, the carbon is trapped and the structure shears into martensite, which is hard and heavily stressed. Hardening is simply cooling fast enough to trap the carbon. Tempering then reheats the steel gently so the trapped structure relaxes instead of shattering under load.
| Result | How you get it | Hardness | Use |
|---|---|---|---|
| Pearlite | Slow cool in air | Soft | Drilling, filing, grinding |
| Martensite | Fast quench from austenite | Hard, brittle | Needs tempering before use |
| Tempered martensite | Quench, then temper | Hard and tough | The knife you actually want |
| Bainite | Interrupted quench and hold | Tough, less hard | Hard to reach without a salt pot |
Normalizing and stress relief before the quench
Before you harden, the steel should be as uniform and stress-free as you can make it. A forged blade carries internal stresses from hammering, and grain that has grown from time at high temperature. Both cause warping and cracking in the quench, and neither is visible on the surface.
For a forged blade, normalize three times: heat to about 800–830 °C, just past non-magnetic, then air cool to room temperature. Do that three times, letting it cool fully between cycles. A blade made from annealed flat bar by stock removal usually does not need normalizing, because you have not introduced forging stress. You should still make sure the blade is straight and the bevels are even before you quench.
Austenitizing: hitting the right temperature
This is the temperature that decides whether the steel can harden at all. Too low and the carbon is not fully dissolved, so the steel will not reach full hardness. Too high and the grain grows, giving a brittle blade that also tends to warp. Each steel has a published range, and you should aim for the lower half of it for the best combination of hardness and toughness.
Hold time matters less than people think on a thin blade. A knife section is a few millimeters thick and reaches temperature within a minute or two of the surface coming up. Long soaks at temperature grow the grain and burn carbon out of the surface. Once the blade is uniformly at temperature, with no shadow and no cold spots, quench it.
| Steel | Austenitize | Quench | Temper and target |
|---|---|---|---|
| 1084 | 800–830 °C | Fast oil | 200–230 °C, 2 x 1 hr → ~58–60 HRC |
| 1095 | 790–830 °C | Fast oil, brisk | 175–220 °C, 2 x 1 hr → ~58–62 HRC |
| 1075 | 800–830 °C | Fast oil | 200–230 °C, 2 x 1 hr → ~56–58 HRC |
| 5160 | 830–860 °C | Fast oil | 200–230 °C, 2 x 1 hr → ~55–58 HRC |
The magnet myth
You will hear that you heat steel until a magnet stops sticking, then quench. That is a useful trick and a dangerous shortcut. Steel loses its magnetism at its Curie point, which for simple carbon steels is around 770 °C. That is real, it is measurable, and it does happen in roughly the right neighborhood.
The problem is that 770 °C is below the 800 °C and up that most knife steels need to fully austenitize. When the magnet stops sticking you know you are at least at 770 °C, which makes it a lower bound rather than a target. Many beginners quench the instant the magnet releases and end up with a blade that is partly hard and partly not.
Use the magnet as a rough check that you are approaching the right range, then keep heating. If you want real control, use a thermocouple or a forge with a controlled chamber, and learn what the correct color looks like in your shop under your lighting. The magnet is a good way to know you have not started too early, and a poor way to know when to quench.
Quenching: speed, oil and movement
Quenching is a race. You need to cool the steel past the point where it wants to form soft pearlite, fast enough that it forms martensite instead. How fast you need to go depends on the steel. 1084 and 1095 need a fast oil. 5160 is more forgiving. Some alloy steels will harden in still air.
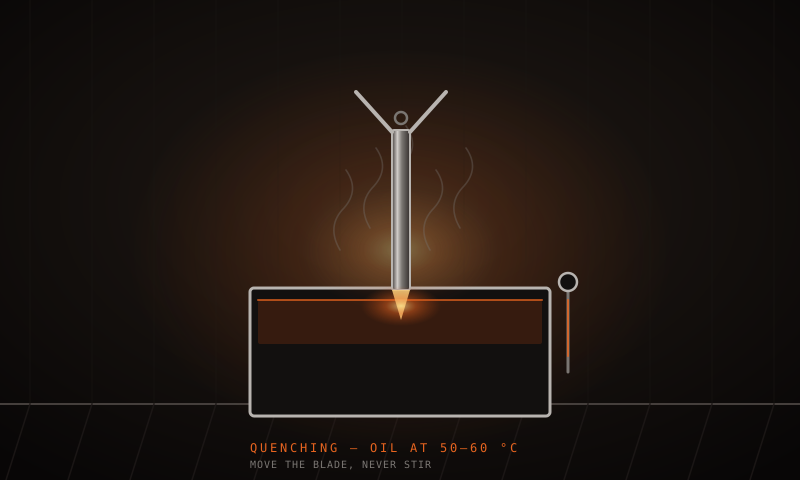
Quench in a metal container with a lid that fits, and use enough oil that the blade is fully submerged with room around it. Warm the oil to about 50–60 °C. Warm oil cools faster than cold oil because it is less viscous, and it is also safer with regard to vapor. Move the blade briskly as it enters to break the vapor blanket that forms around hot steel and slows cooling.
Get the oil ready
Warm it to roughly 50–60 °C. Too cold and it will not cool fast enough. Too hot and you are closer to its flash point and to a fire you do not want in the shop.
Confirm the blade is at temperature
Even color along the whole blade, no cold spine, no shadow near the tang. If you have a thermocouple, read it. If not, check the color under consistent lighting you have learned.
Quench decisively
Enter the blade edge-first or point-first, straight down and slightly angled. Do not hesitate at the surface. A pause at the surface is enough to form a soft skin on the edge.
Move the blade in the oil
Agitate up and down or in a slicing motion to break the vapor jacket. A still blade sits inside a bubble of vapor and cools far more slowly than it should.
Keep it in until it is cool
Leave it in the oil until it is cool enough to handle. Pulling it out early, while it is still several hundred degrees, can crack it or leave it under-hardened.
Tempering: two cycles, one hour each
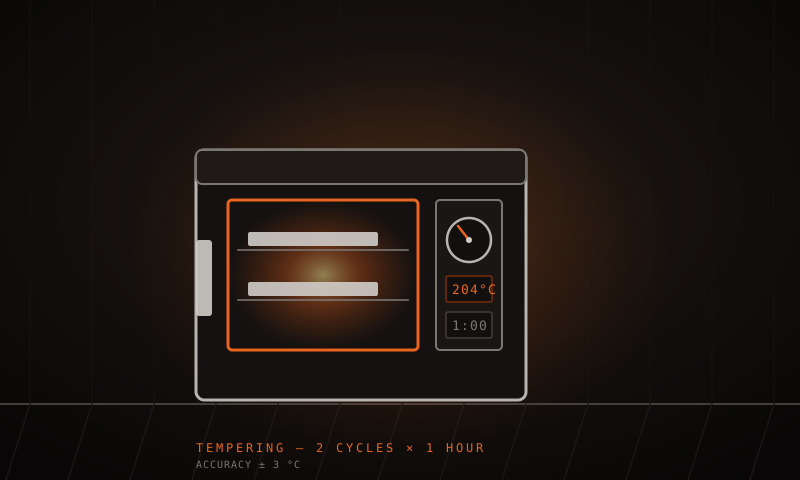
A freshly quenched blade is martensite, and martensite is hard and highly stressed. Use it as it comes out of the oil and it will chip or snap. Tempering reheats it gently so the structure relaxes and some toughness returns, at the cost of a little hardness. Standard practice is two cycles of one hour each, cooling to room temperature between them.
The temperature you choose sets the hardness. For 1084, temper at 200–230 °C to land around 58–60 HRC. For 1095, temper lower at 175–220 °C, because it needs to keep more of its hardness. Two cycles matter because the first does most of the transformation and the second catches what the first missed. A single twenty-minute cycle is not the same thing.
| Temper temp | Effect on 1084 | Typical use |
|---|---|---|
| 175–190 °C | Very hard, less tough | Fine slicers, light use |
| 200–230 °C | ~58–60 HRC, balanced | Most knives |
| 240–260 °C | Tougher, less edge holding | Choppers, hard-use blades |
| 280 °C and up | Noticeably softer | Not recommended for knives |
Testing the result without destroying the knife
You should test every blade you heat treat, because a knife that looks fine can be soft. The simplest test is a file: a new sharp file will bite into steel at about 55 HRC and skate across steel at 60 HRC. Test on the spine near the tang and on the blade itself, because a blade can be hard at one end and soft at the other.
For a more honest result, harden a small coupon from the same steel in the same batch and break it in a vise. Fine, silky grey grain means the heat treatment worked. Bright, coarse grain means the steel got too hot. A dull grey with visible structure means it did not get hot enough. That test destroys ten grams of steel and tells you what a whole batch of blades will do.
- A file that skates across the blade means roughly 60 HRC. A file that bites means under 55 HRC.
- Test both ends of the blade. Uneven hardness usually means an uneven heat or an uneven quench.
- Break a coupon from the same steel and heat. Fine grey grain is good, coarse bright grain is not.
- Check for warp immediately after tempering, while you can still straighten it in a vise with light pressure.
- Record the numbers for every blade: steel, temperature, oil temperature, temper temperature and how it cut.
Key takeaways
- Austenitize 1084 at 800–830 °C, quench in fast oil, then temper at 200–230 °C for about 58–60 HRC.
- 1095 needs 790–830 °C with a fast decisive quench, and tempers lower at 175–220 °C to keep its hardness.
- The magnet only proves you passed about 770 °C, which is below the austenitizing temperature you actually need.
- Temper twice for one hour each, cooling between cycles. One short temper leaves the blade stressed and brittle.
- Test every blade with a file, and break a coupon from the same heat to check grain before trusting a batch.
Frequently asked
You can, and many people do, but results vary. Motor oil has additives that produce toxic smoke, and vegetable oil can go rancid and has a lower flash point. A dedicated fast-quenching oil is more consistent and safer. Whatever you use, warm it to about 50–60 °C and have a fitted lid ready in case it lights.
Cracks usually come from three things: an edge ground too thin before hardening, uneven thickness between the two sides, or quenching from too high a temperature. Occasionally it is the steel, particularly a high-carbon steel quenched in water. Normalize, grind both sides evenly, leave the edge at 0.5–1 mm, and use oil rather than water.
It helps a great deal, especially for stainless and alloy steels that need precise holds. For simple carbon steels like 1084 you can do good work with a forge and careful color reading. A thermocouple in the forge is a middle step that costs little and removes most of the guesswork from the process.
Related articles
Understanding Steel: Carbon, Alloy, and Tool Steels
Carbon content decides whether steel can harden at all. Alloying elements decide how it behaves while you work it. Knowing the difference is what lets you choose a steel instead of guessing at one.
Forging Basics: Heating, Hammering, and Shaping
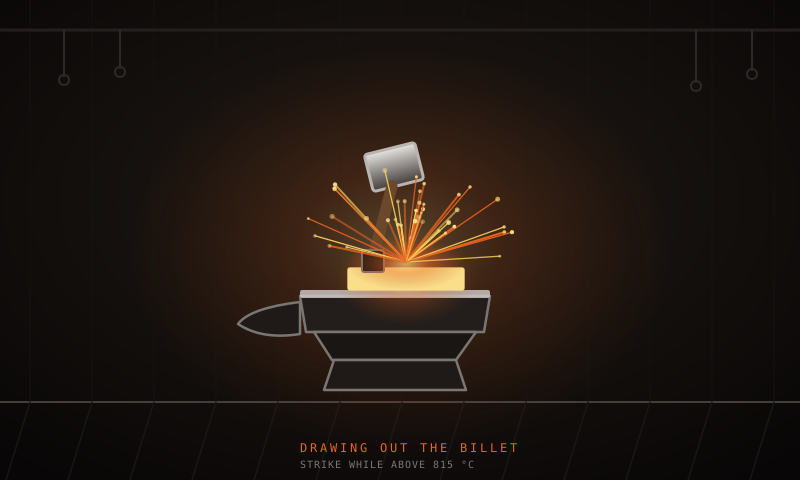
Forging is not about hitting hard. It is about heat, hammer control and knowing when to stop. This covers the working temperatures, the hammer work, and the faults that show up in every beginner blade.
Knife Maintenance and Sharpening
An edge fails in predictable ways and each one has a different fix. This covers the angles for different knives, a stone progression that works, and how to keep a carbon steel blade from rusting.