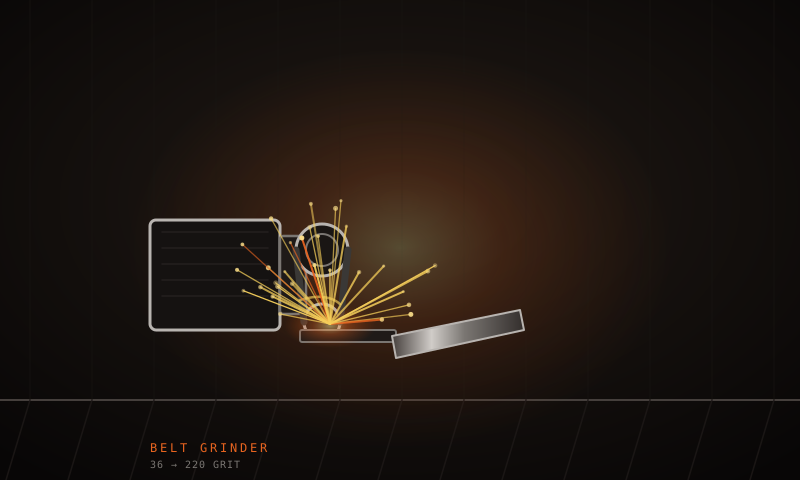
Grinding removes steel fast, and that is both the appeal and the danger. A belt grinder can shape a blade in twenty minutes and ruin it in two seconds. The skill is not in how much you remove, but in how evenly you remove it and where you stop. Most beginner blades fail not because the grind was too shallow, but because it was uneven on one side and the maker tried to fix it by taking more off the other.
Everything in grinding comes down to three variables: abrasive grit, belt speed and pressure. Grit decides how much material you remove and how deep the scratches go. Speed and pressure decide how much heat you generate. A sharp belt at moderate speed with light pressure cuts cool and fast. A dull belt with heavy pressure polishes and burns at the same time.
Setting up the grinder and staying safe
A belt grinder is the most dangerous tool in most knife shops. It throws sparks and hot metal dust, it can grab a blade and fling it, and a belt that breaks or a wheel that fails will do real damage. Set it up so the work is supported and your hands are never in line with the direction the belt travels.
Track the belt so it runs centered, keep the platen flat and the contact wheel in good condition, and check belts for tears before you fit them. A belt that has been folded or stored damp can delaminate at speed, and a belt that snaps at several thousand surface feet per minute is a whip, not a strip of cloth. Replace the platen when it wears dished, because a dished platen grinds a dished bevel and you will chase that error for hours.
- Eye protection plus a face shield. Sparks and fragments leave the belt faster than you can blink.
- A P2 or P3 respirator. Metal dust and abrasive dust are both bad for your lungs, and steel dust is combustible.
- Hearing protection. A loaded grinder is loud enough to damage hearing over years of work.
- No gloves near a running belt. A glove can catch and pull your hand into the contact wheel.
- A secure grip or a work rest. Plan where your hands go before the belt touches the steel.
Belt grit progression
Each stage in the progression does a specific job, and skipping stages costs more time than it saves. Coarse belts remove material and leave deep scratches. Fine belts remove very little and polish. Jump from 36 to 400 and you will spend an hour trying to sand out scratches a 120 belt would have taken out in two minutes.
Do not jump more than about double the grit. Going 120 to 220 to 400 to 800 works. Going 120 straight to 800 leaves scratches that only appear when you start polishing, and by then the blade is heat treated and every minute of grinding risks the temper. If you are in a hurry, add a step rather than skipping one. A single extra belt takes two minutes and saves an hour of hand sanding later.
| Stage | Grit | Purpose |
|---|---|---|
| Profiling | 36–60 | Cutting the outline and rough thickness. Fast, deep scratches. |
| Bevel setting | 120–220 | Establishing the primary bevel and the grind lines. |
| Refining | 400–800 | Removing previous scratches and flattening the grind. |
| Hand finishing | 220–800 paper | Draw filing and sanding on a hard backing block. |
| Apex | 1000 / 4000 / 8000 | Setting and refining the actual cutting edge on stones. |
Establishing bevels and grind lines
The bevel is the angled surface running from the spine or the plunge line down to the edge. Where it starts and how straight it runs decides whether the knife looks intentional. Beginners usually have the right idea and the wrong consistency: the angle drifts, the plunge line wanders, and one side ends up wider than the other.
Pick your grind height before you start and mark it. On a full flat grind the bevel runs from edge to spine; on a sabre grind it stops partway up. Whatever you choose, keep the blade at a consistent angle against the platen and let the belt do the work. Rocking the blade changes the angle, and the grind line will show every change you make.
Profile first, then bevel
Cut and clean up the outline before you touch the bevels. A wavy profile makes every later step harder to judge, and you cannot fix an outline once the bevels are ground in.
Mark the grind height
Scribe a line on both sides where you want the grind to stop. Use a height gauge or a block and marker so both sides match. Grinding to a visible line beats grinding to a feeling.
Set the plunge line
The plunge is where the bevel starts near the handle. Establish it deliberately with the edge of the platen, on both sides, at the same distance. Let it wander and the knife looks homemade in the wrong sense.
Work both sides evenly
Alternate sides often and count passes. If one side gets ahead, do not fix it by grinding the other side down to match. Stop and check your angle, because the cause is usually your stance.
Blend the plunge and the tip
The plunge transition and the tip are where grind lines look worst. Slow the belt, lighten the pressure, and blend them by eye from several angles before moving on to the refining grits.
Grinding angles that work
The angle you grind is a compromise between cutting ability and strength. A thin, low-angle edge cuts beautifully and folds under hard use. A thick, high-angle edge is durable and feels dull in the kitchen. For most knives the answer sits in the middle, and it is measured per side.
For a kitchen knife, aim for about 15° per side. That is a 30° included angle, thin enough to slice well while still surviving contact with a cutting board. For a general outdoor knife, aim for about 20° per side, a 40° included angle, which trades some slicing ability for an edge that survives chopping, batoning and the occasional accidental contact with grit.
| Knife type | Per side | Included | Trade-off |
|---|---|---|---|
| Kitchen / slicer | ~15° | ~30° | Cuts beautifully, less tolerant of abuse. |
| General outdoor | ~20° | ~40° | Balanced, good for most camp and utility work. |
| Heavy chopper | 20–25° | 40–50° | Durable edge, noticeably less keen. |
| Wood carving | 15–20° | 30–40° | Sharp and controlled, suited to clean cuts. |
Heat, thin edges and when to stop
Grinding generates heat, and heat undoes your heat treatment. Steel tempered to 58–60 HRC starts to lose hardness at temperatures well below the glowing range. If a ground edge turns straw yellow or blue, you have softened it, and the knife will never hold an edge the way it was designed to.
Keep a finger near the edge, or dip the blade in water frequently, and never grind a thin edge for long without a break. Most important: do not grind the edge to a razor before heat treatment. Leave roughly the thickness of a fingernail at the edge, about 0.5 to 1 mm, and grind the final edge after tempering. A thin pre-heat-treat edge is the single most common cause of warping and cracking in the quench.
Hand finishing and taking it to the stones
Machine grinding leaves a surface, and a surface left too rough will never look finished. After the 400 belt, switch to hand sanding on a hard backing block, working up through 220, 320, 400 and 800 grit. Sand in one direction per grit and change direction when you change grit, so you can see when the previous scratches are actually gone.
Then move to stones. A 1000 grit stone sets the apex, 4000 refines it, and 8000 polishes it. Do not start at 8000. A polished but unformed edge is a rounded, dull edge. Set the bevel on the 1000 stone until you can feel a burr along the whole edge on the opposite side, then remove the burr and refine from there.
- Sand in one direction per grit, and change direction when you change grit so you can see what scratches remain.
- Use a hard backing block. Sanding with your fingers rounds the grind lines and washes out crisp transitions.
- Form a burr on the 1000 stone along the whole edge before moving up, or you are polishing a blunt apex.
- Alternate sides lightly on the finer stones to remove the burr, then finish with a few edge-leading passes.
- Test on paper and on a tomato, not on your thumb. Thumb tests are how sharpening sessions end in first aid.
Key takeaways
- Progress 36–60 for profiling, 120–220 for bevels, 400–800 for refining, then 1000/4000/8000 stones for the apex.
- Never jump more than about double the grit. Skipping stages hides scratches until the blade is heat treated and risky to grind.
- Grind about 15° per side for a kitchen knife and 20° per side for a general outdoor knife. That is 30° and 40° included.
- Leave the edge about 0.5–1 mm thick before heat treatment. A razor edge before quenching warps, cracks or burns.
- Heat is the enemy of a finished edge. Blue oxide means softened steel, and no amount of sharpening brings it back.
Frequently asked
No. A 2x72 is the standard because of belt availability and motor power, but a 1x30 or 2x42 will make any knife you want with more patience. What matters is a flat platen, consistent belt tracking and enough power not to stall. Many makers work for years on a small grinder before upgrading.
Grind to a scribed line, keep your body still, and move the blade rather than your arms. Most wavy grind lines come from the maker shifting stance mid-pass. Lock your elbows, use a rest, and check the line from directly overhead every few passes so you catch drift before it becomes permanent.
Do the profiling and bevels before heat treatment, leaving the edge thick at about 0.5–1 mm. Then harden and temper, and grind the final edge and do your hand finishing afterwards. Grinding a fully hardened blade is slow and risks overheating it, but grinding a thin edge before quenching is how blades warp.
Related articles
Knife Maintenance and Sharpening
An edge fails in predictable ways and each one has a different fix. This covers the angles for different knives, a stone progression that works, and how to keep a carbon steel blade from rusting.
Heat Treatment Explained: Quenching and Tempering
Hardening is a race between two transformations. Get the temperature and the quench right and the steel becomes martensite. Get them wrong and it stays soft. Here is the sequence that works, with real numbers.

How to Start Knife Making: A Beginner’s Guide
Knife making rewards patience more than tools. Here is the honest starting path: one simple steel, a handful of files, and the three skills that actually decide whether your first blade works.