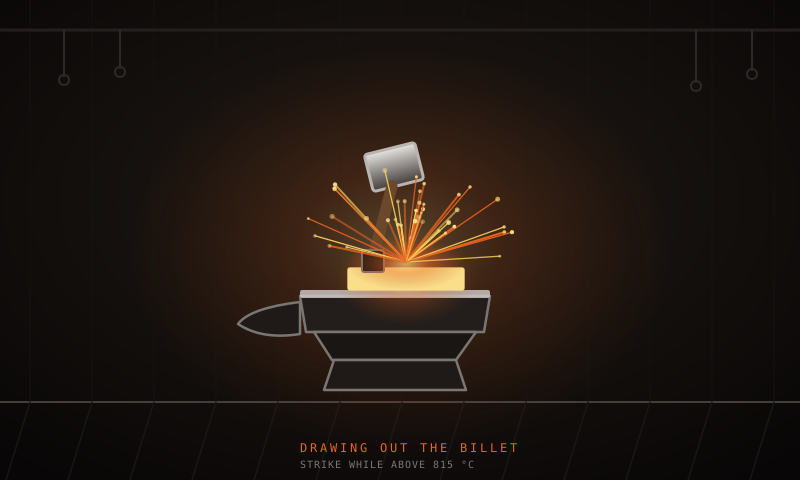
Forging moves steel instead of removing it. You heat a bar until it is soft enough to deform, then shape it with a hammer on an anvil. Done well, it saves material, refines grain and lets you make shapes that would be wasteful to grind out of flat bar. Done badly, it creates cracks, cold shuts and a blade that warps every time you quench it.
The craft lives in two places: your heat and your hammer. Steel that is too cold will crack or tear. Steel that is too hot will burn, grow coarse grain and lose carbon at the surface. A blow that lands late or off-angle folds the surface onto itself and leaves a seam you cannot grind out. Everything below is about avoiding those three outcomes.
Heat, color and the working range
Forging happens in a temperature band, not at a single temperature. For simple carbon steels the working range is roughly 950–1200 °C. Below about 900 °C the steel is too stiff to move and will crack if you insist. Above about 1250 °C you risk burning it, which permanently ruins the steel for a knife no matter what you do afterwards.
You will judge this by color, because most home shops do not have a pyrometer aimed at the workpiece. Learn your own forge and your own lighting, because the same steel looks different in daylight and in a dim shop. The chart below is a starting reference, not a substitute for watching your steel. A thermocouple in the forge takes most of the guesswork out of it and costs very little.
| Color | Approx. temp | What it means |
|---|---|---|
| Faint red | ~550 °C | Too cold to forge. Do not hammer. |
| Cherry red | ~800–900 °C | Hardening range. Forge only lightly here. |
| Orange | ~950–1050 °C | Good forging temperature. |
| Bright orange | ~1100–1200 °C | Upper end of the range. Work quickly. |
| Yellow | ~1250 °C | Burning risk. Get it out of the fire. |
Setting up the anvil and the hammer
The anvil wants to be at about knuckle height, or a little below, so your hammer face lands flat when your arm is relaxed. If you have to bend down to reach it, you will be tired in twenty minutes and your blows will be inconsistent. Secure the anvil to a stand with mass underneath it — a heavy stump or a steel drum filled with sand. A quiet anvil is a working anvil; ringing wastes energy and damages your hearing.
Start with a hammer around 800 g to 1 kg. Heavier sounds impressive and is a fast route to a sore elbow. The face should be flat and slightly crowned with dressed edges. Rough, chipped edges leave deep marks that take ten times longer to grind out than they took to put in, and a mushroomed or chipped face is a safety problem as well, because fragments can leave the hammer under a hard blow.
- Anvil at knuckle height, secured to a heavy stand so it neither bounces nor rings.
- A hammer of 800 g to 1 kg for most work, with a flat, dressed face and softened edges.
- Tongs that grip the stock size you are actually using, not a size you plan to use later.
- A bucket of water for cooling tongs and hammer, kept well away from the steel you are heating.
- Side lighting, so you can see the surface of the steel and catch folds as they form.
Hammer technique that actually moves steel
The hammer does the work; your arm just delivers it. Grip near the end of the handle, keep your wrist loose, and let the head fall rather than pushing it down. The power comes from the drop and the rebound, not from a tight grip. A death grip tires you out and flattens your blows into smears.
Aim for the anvil, not the steel. If you swing at the steel you will stop the hammer short and leave a light, glancing mark. Think of the anvil face as the target and the steel as something in the way. Keep the face parallel to the anvil at impact, or you will leave a crescent-shaped dent instead of a flat surface.
Draw out
Reduce thickness and increase length by striking with the face flat across the bar. Alternate sides so the bar stays straight, and rotate it 90 degrees regularly so you are not just flattening one face.
Upset
Shorten and thicken the bar by striking on its end. Useful for building mass where a guard or pommel will sit. Do it in short, quick heats, because the end of a bar loses heat fast.
Set the shoulder
Define where the blade meets the tang with a hammer or a shoulder tool. A clean shoulder gives you a reference for the rest of the shaping and helps stop the tang bending later.
Straighten
Correct bends while the steel is at forging heat, using light blows. Trying to straighten cold steel bends the blade and can crack it at the edge, which is the worst place for a crack.
Refine with light blows
As the steel cools toward orange, switch to lighter, faster blows. These flatten the surface and reduce the depth of hammer marks you have to grind out later.
Shaping a blade and drawing the tang
Most beginner blades are forged from round or square bar. Draw the blade section out first, working from the middle toward the tip so you are not fighting a lump you left behind. Keep the spine thicker than the edge from the very first heat. It is much easier to leave mass than to put it back, and working the tip is the last thing you do, only when the steel is at a good orange.
The tang is where beginners lose time. Draw it out long enough to run through the handle and out the back, then taper it so it gets thinner toward the end. A tang that is too short, too thick or too thin will all cause problems when you assemble the handle, and none of them are fixable after heat treatment.
Normalizing: the step everyone skips
Forging does two unhelpful things to steel. It leaves internal stresses, and if you have worked it at high temperature for a while, it grows the grain. Both make a blade more likely to warp or crack in the quench, and both reduce the toughness of the finished knife. You cannot see either problem on the surface and you cannot grind them out.
A blade that has been forged and then not normalized will often come out of the quench with a curve in it, or with grain that looks coarse and bright when you break a test coupon. Normalizing is the step that puts the steel back to a known state before you harden it, and it takes less time than fixing the problems it prevents.
Normalizing fixes both. Heat the blade to just past non-magnetic — for simple carbon steels that means about 800–830 °C, a dull orange in a dim shop — then take it out and let it cool in still air to room temperature. Do that three times before hardening a forged blade. Three cycles is standard practice, and it is the cheapest insurance you will ever buy.
Common forging faults and what causes them
Faults in forging have causes, and most of them come from working too cold or too long. Learn to recognize them on the steel rather than after the blade cracks. Almost everything in the list below is visible before you quench, if you know what to look for, and the ones you find late are the ones that cost you a blade. Check the surface after every heat rather than at the end of the session.
- Cold shut: a fold from a blow that overlapped instead of welding. It looks like a seam and it opens up when you grind.
- Edge cracking: almost always from hammering below about 900 °C. The thin edge cools first and tears.
- Burned steel: bright yellow in the fire, or sparking. The grain is ruined and no amount of normalizing brings it back.
- Coarse, crumbly grain: from long soaks at high temperature. Normalizing three times before hardening recovers most of it.
- Blades that warp in every quench: usually unrelieved forging stress. Normalize, and grind the bevels evenly on both sides.
- Decarburized skin: a soft surface layer from too long in an oxidizing fire. Grind through it or your hardness test will lie.
Key takeaways
- Forge simple carbon steel between roughly 950 and 1200 °C. Below 900 °C it cracks, and above 1250 °C it burns.
- Set the anvil at knuckle height, secure it against ringing, and use a hammer near 800 g to 1 kg with a dressed face.
- Aim your hammer at the anvil, keep the wrist loose, and let the head drop instead of forcing it into the work.
- Normalize a forged blade three times before hardening to relieve stress, refine grain and reduce warping.
- Forge slightly thick and grind to final dimension. Cold shuts, cold-work cracks and decarb all surface later.
Frequently asked
No. A hand hammer and an anvil will make any knife you can imagine, just more slowly. A press is genuinely useful for setting patterns in layered steel and for drawing out heavy stock, but it is a production tool rather than a requirement for learning. Many excellent blades have been forged entirely by hand.
A simple forged blade from bar stock is usually done in four to eight heats for the blade and two or three more for the tang. More heats means more scale loss and more chance of decarburization. Learn to do more work per heat: plan your blows, work both sides, and get the steel back in the fire before it drops below orange.
You can heat a small section of steel with a torch and firebricks, enough to forge a small blade or straighten a tang. It is slow and the heat is local, so drawing out a full blade is impractical. For real forging you want a chamber that heats the whole blade evenly, whether gas or coal.
Related articles
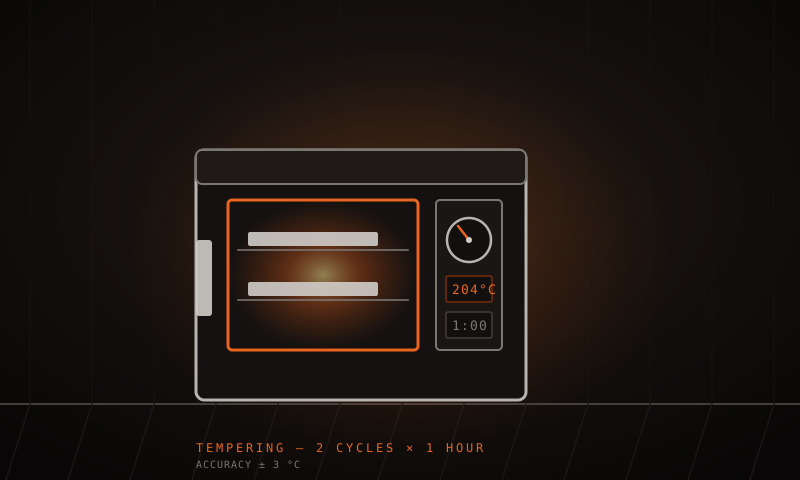
Understanding Steel: Carbon, Alloy, and Tool Steels
Carbon content decides whether steel can harden at all. Alloying elements decide how it behaves while you work it. Knowing the difference is what lets you choose a steel instead of guessing at one.
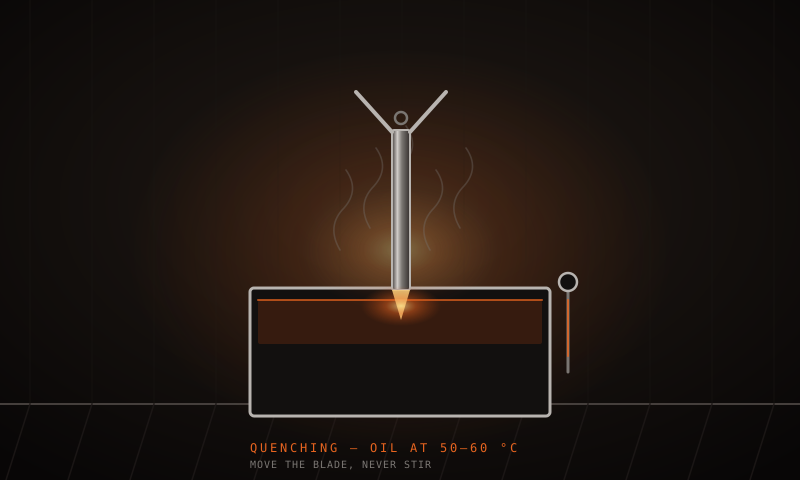
Heat Treatment Explained: Quenching and Tempering
Hardening is a race between two transformations. Get the temperature and the quench right and the steel becomes martensite. Get them wrong and it stays soft. Here is the sequence that works, with real numbers.
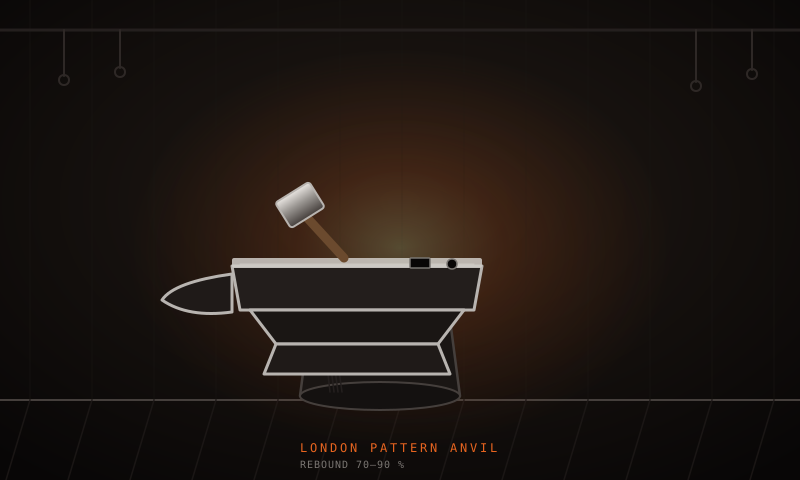
Setting Up a Home Forge
Where you put the forge matters more than which forge you buy. This covers siting and ventilation, gas versus coal, anvils and stands, tooling, quench setup and a layout that works in a small shop.